Warning: this blog is not about cake pops.
Sorry guys, I've had a lot of requests for cake pop tutorials and tips, and I can promise you that I will definitely write about them in the near future. What I can't promise is how 'near' it will be :) I kid, I kid! I am doing some for a shower next weekend so I will take pics and share then. PINKY PROMISE.
Okay, now let's get to the good part.
Anyone else in love with Pinterest lately? For any fellow Junkies, it is a must-have. There are so many incredible crafting/baking/style ideas. My latest project was born from a picture I saw on the site.
So basically I saw a pic of an old/junkie TV stand turned into trendy/modern ottoman.
Then I saw some kid photos done with bright colored props outdoors.
I decided to combine the two ideas, and ummm...well...it's was sort of magical :)))
Here we go:
Find old junkie prop at a local thrift store

This chair was less than $3.
Remember when searching for items to think of their POTENTIAL, not their current state.
Go to the craft store and pick up some material and spray paint (or regular paint, or stain or whatever you desire).
I encourage you to leave your comfort zone and spice up your life with a fun pattern. There were SO many amazing fabrics when I went in search for these orange polka dots, that I was inspired to have a fabulously decorated house (except the whole 'having a house' part through a damper on my party...oh well, a girl can dream right?).
Clean off the furniture and take off the old material part (if there is one).
Put the new material on.


At this point you can sand down the piece, or if it's not too shabby, get right to the painting part. I used Krylon Hobby Spray Paint, but you can use whatever you fancy.
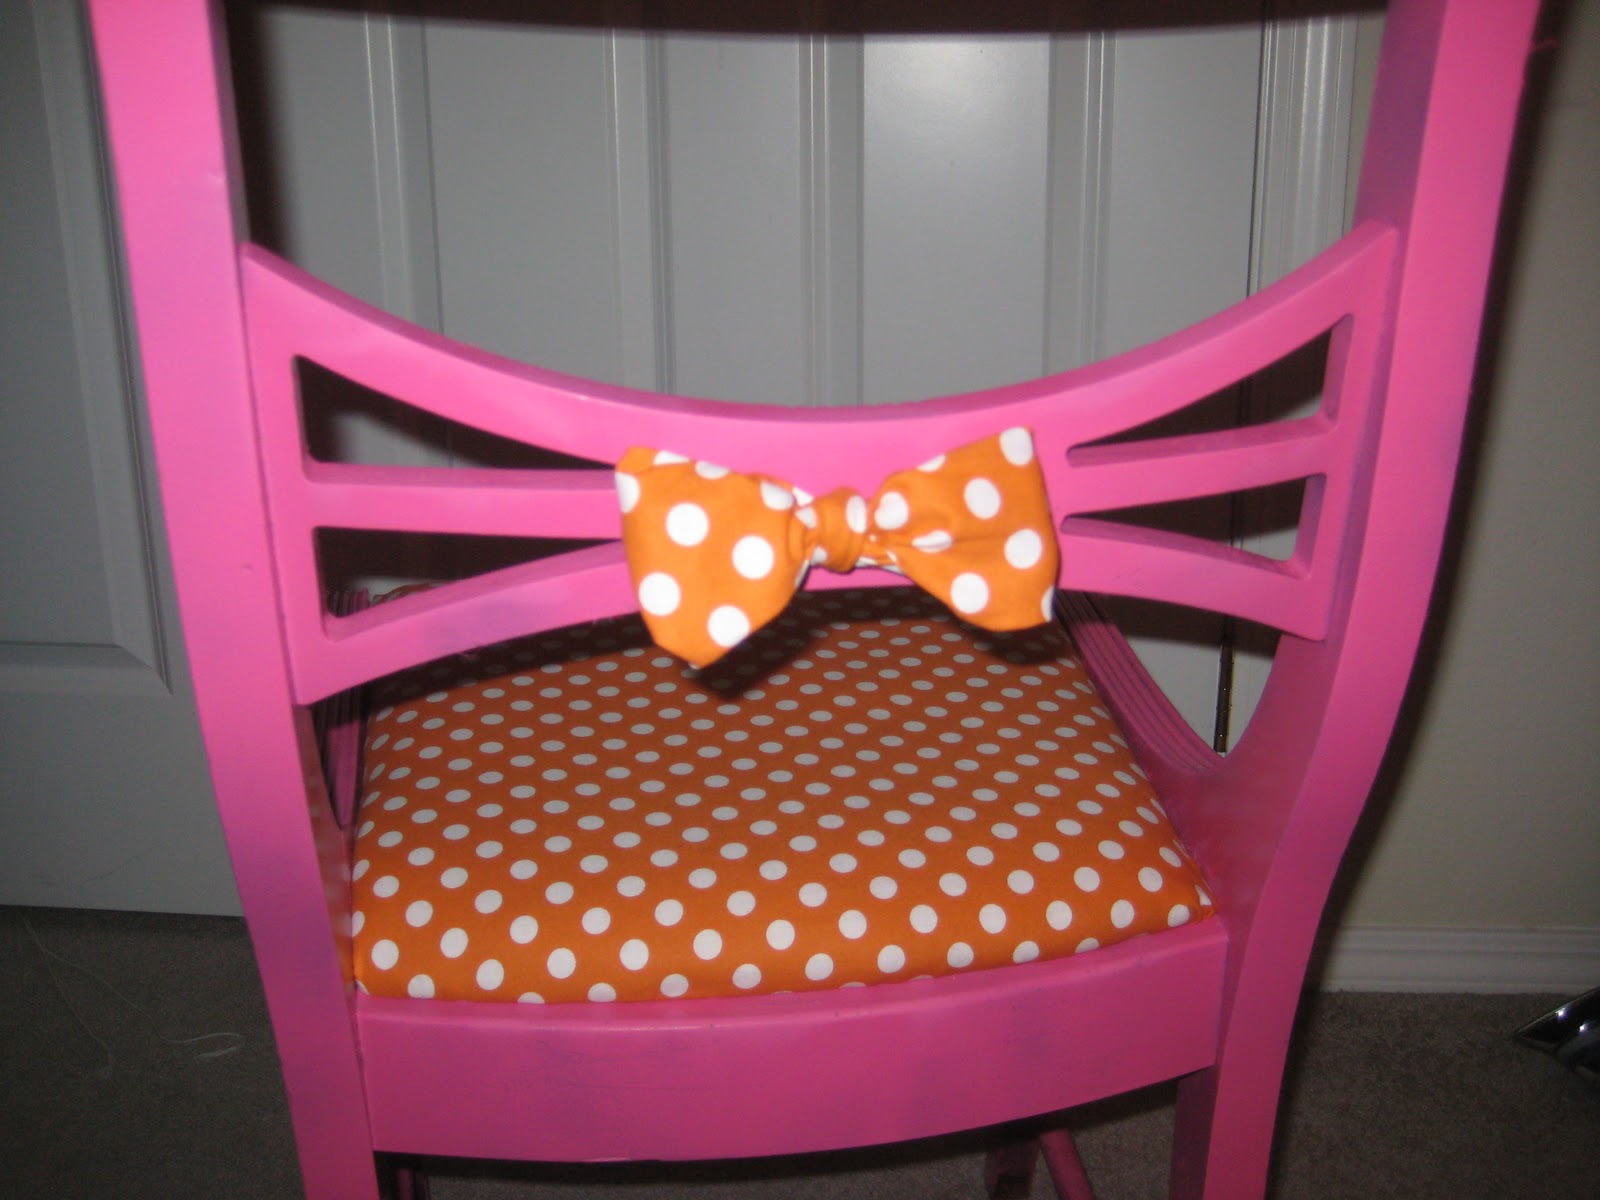
And here you have it folks...a super cute chair, done with minimal effort and it was less than $10!

I didn't like the middle part of the chair back, so I looped in some extra fabric and tied it in a bow in the back so that it was hidden. Pinterest had all kinds of fun ideas like hot-gluing funky buttons or gems to the back of the chair for unique twists to photo props.

Now the REALLY fun part is using the chair! I had a mini photo-sesh and used this chair as a prop. The colors for the chair are orange and pink because the pics are going into her room which is going to be themed with...you guessed it...bright orange and pink :)))
Here is a peak at some of the pics-


Adorable, right!!????
So get to it! Re-do some kitchen stools, or add some joy to your computer chair...there are so many ways to add some spunk to dull or outdated furniture. Happy crafting!
And seriously, I've never broken a pinky promise. Cake-pops soon.
stinkin.cute. caitlin wanted to do something like this for a chair in her kitchen. ill have to show her!
ReplyDeleteYes, yes..super easy too. So many possibilities with the nice fabrics in the back of the store.
ReplyDelete